Red White Blue Dirt Cups- Easy Patriotic Dessert
Red, White and Blue Dirt Cups are a delightful and utterly charming dessert that never fails to bring smiles to faces, especially during patriotic holidays or summer gatherings. What’s not to love about this playful treat? It’s a whimsical take on a classic, transforming simple ingredients into a miniature edible landscape that’s as fun to assemble as it is to devour. The genius of these Red, White and Blue Dirt Cups lies in their simplicity and visual appeal. Kids (and kids at heart!) adore the “dirt” made from crushed cookies, the creamy pudding “soil,” and the fun candy worms that peek out. But what truly makes this version special is the vibrant layering of red, white, and blue, mirroring the colors of the American flag. It’s a no-bake wonder that’s incredibly forgiving, making it the perfect recipe for families to create together. Get ready for a burst of nostalgia and pure, unadulterated fun with every spoonful of these Red, White and Blue Dirt Cups!
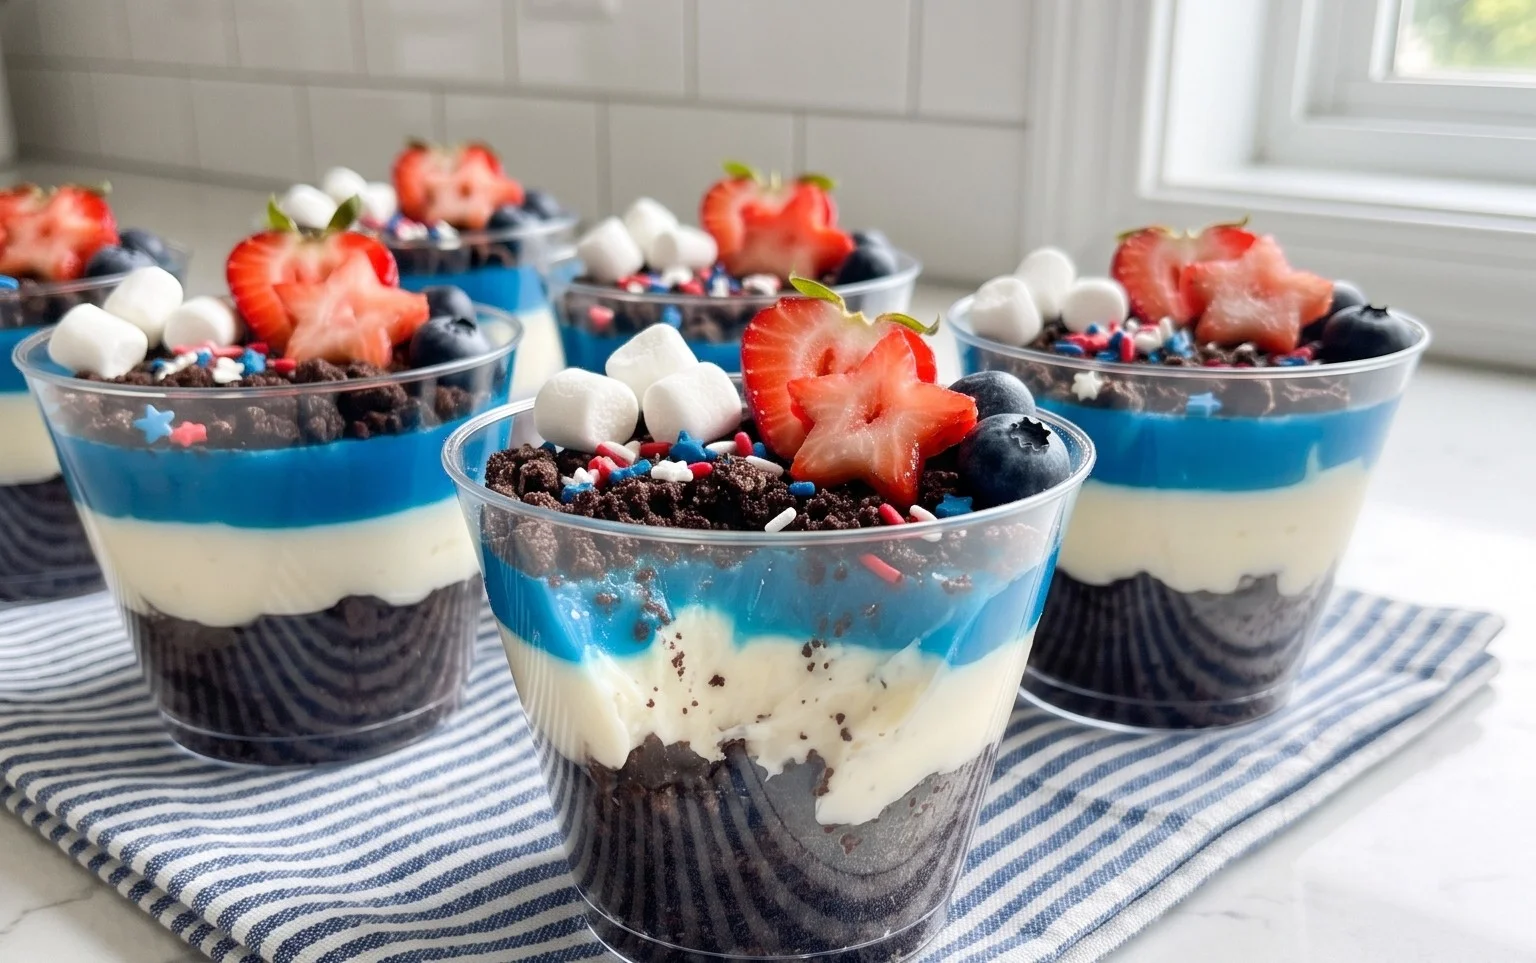
Red, White and Blue Dirt Cups
Get ready for a deliciously festive treat that’s as fun to make as it is to eat! These Red, White and Blue Dirt Cups are the perfect way to celebrate summer holidays, patriotic parties, or any occasion that calls for a burst of color and a whole lot of chocolatey goodness. They’re incredibly simple to assemble, making them a fantastic activity to do with kids, and the individual servings are ideal for picnics, barbecues, or just a delightful dessert after a backyard cookout. The creamy, dreamy pudding paired with the crunchy “dirt” and chewy gummy worms creates a symphony of textures and flavors that will have everyone beggin extractg for more.
Ingredients:
Getting Started: Prepping Your Pudding
The foundation of our delightful dirt cups is a smooth and creamy pudding. We’re going to divide our pudding base to create our vibrant red and blue layers, with a classic white layer in between. This is where the magic happens!
1. First things first, let’s get our pudding ready. In a large bowl, whisk together the contents of both boxes of cheesecake pudding mix. This ensures an even distribution of flavor and thickening agents. Gradually pour in the 4 cups of cold milk. Whisk vigorously for about 2 minutes, or until the pudding starts to thicken. You’re looking for a consistency that’s smooth and holds its shape when you lift the whisk. It’s important to use cold milk, as this helps the pudding set properly and achieve that desirable creamy texture. Once it’s whisked to perfection, cover the bowl with plastic wrap, pressing the wrap directly onto the surface of the pudding. This prevents a skin from forming. Pop it into the refrigerator for at least 5 minutes to let it firm up a bit before we divide it. This initial chilling is crucial for easier handling and for preventing the colors from bleeding too much.
Creating Our Patriotic Layers
Now for the fun part – coloring our pudding! We’ll be making two batches of colored pudding and leaving one pure white for our central layer. Using gel food coloring is key here because it’s concentrated and won’t water down the pudding, ensuring vibrant colors without altering the texture.
2. While the pudding is chilling briefly, let’s prepare our crushed Oreos. Take your 19 Oreo cookies and place them into a resealable plastic bag or a food processor. If using a bag, seal it tightly and then grab a rolling pin or a sturdy can and get to crushing! You want a fine, crum extractbly texture that resembles soil. If you’re using a food processor, pulse until you achieve the desired consistency. Set this “dirt” aside in a bowl. This is the star of our “dirt cup” theme!
3. Once your pudding has had its initial chill, it’s time to divide it. We’ll need three separate bowls. Carefully spoon about one-third of the pudding into the first bowl, another third into the second bowl, and leave the remaining third in the origin extractal bowl. To the first bowl, add the ¼ teaspoon of red gel food dye. Stir gently but thoroughly until the color is evenly distributed and you have a beautiful, vibrant red pudding. Don’t be afraid to really work the color in; you want a rich hue. To the second bowl, add the ¼ teaspoon of blue gel food dye. Again, stir until the color is uniform and you achieve a striking blue. The remaining pudding in the origin extractal bowl will be our pure white layer.
Assembling Your Delicious Dirt Cups
This is where everything comes together! We’ll be layering our colorful puddings and the chocolate “dirt” to create visually appealing and utterly delicious dessert cups. You can use clear plastic cups, small mason jars, or even a larger trifle dish for a communal presentation.
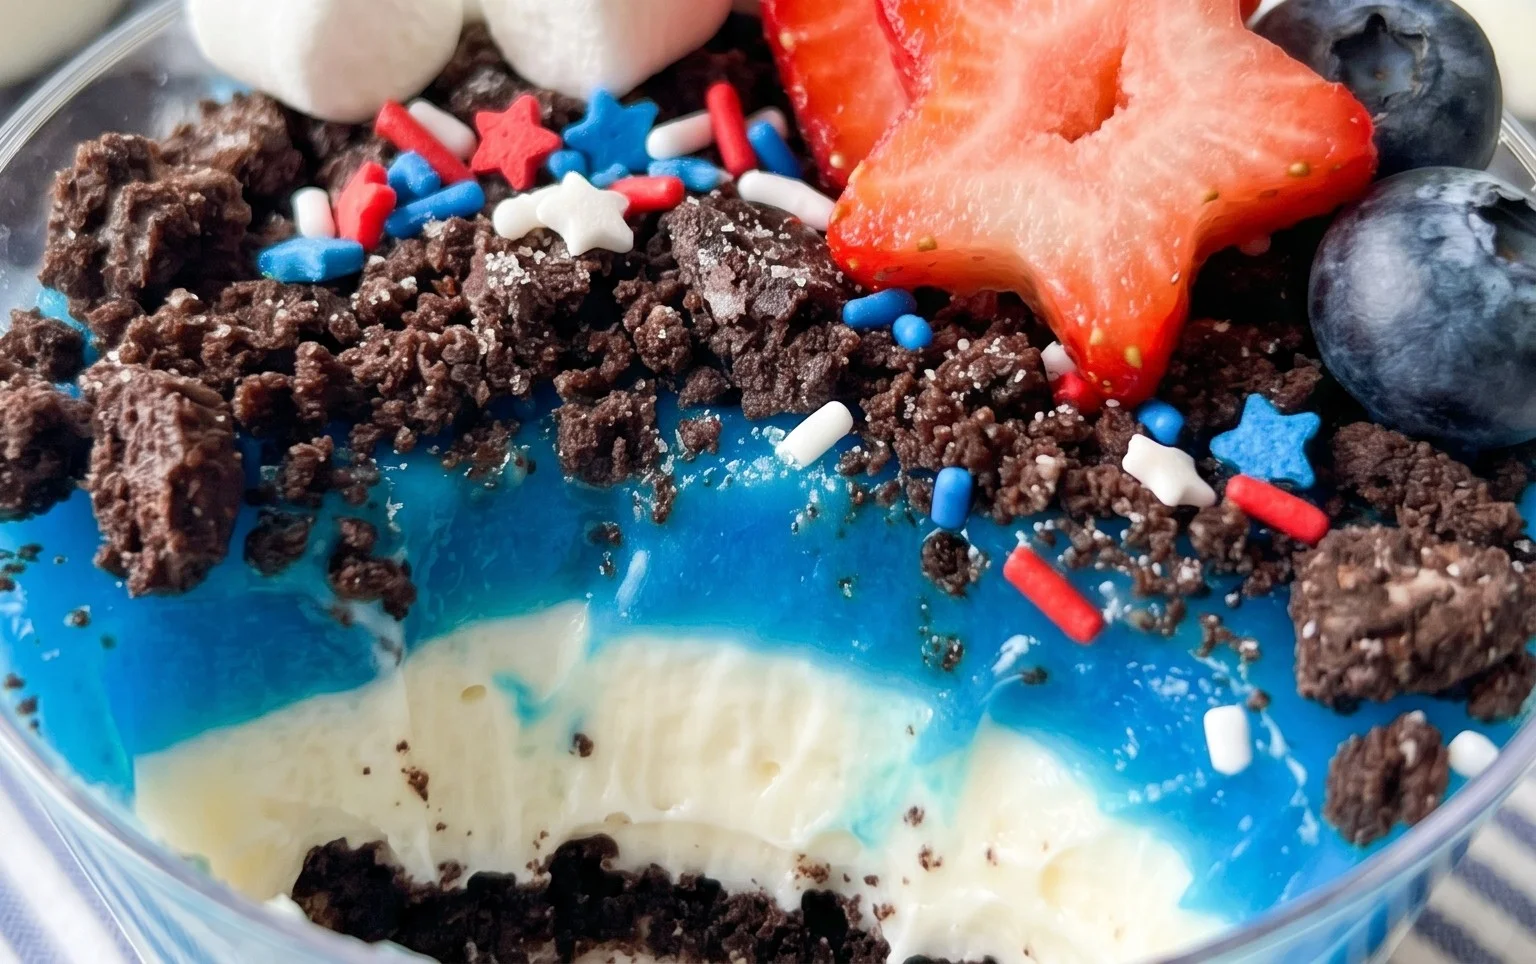
4. Now it’s time for assembly! Start by spooning a layer of your crushed Oreo cookies into the bottom of each serving cup, creating a base for your dirt cups. This layer adds a nice crunch and anchors the pudding. Next, carefully spoon a generous layer of the red pudding over the Oreo crum extractbs. Try to create a smooth, even layer. Don’t worry if it’s not perfect; a little variation adds to the rustic “dirt” charm! After the red layer, add a layer of the plain white cheesecake pudding. This provides a bright contrast and a creamy middle section. Finally, top the white layer with a generous portion of the blue pudding, filling the cup almost to the top. You want distinct layers that will be visible when you cut into or dig into your dirt cups.
5. The final touch that truly brings our Red, White and Blue Dirt Cups to life is the “dirt” and our fun gummy worm friends! Sprinkle a thick, generous layer of the crushed Oreo cookies over the top of the blue pudding. This is your “dirt” topping, so feel free to make it look as natural and abundant as possible. The more dirt, the more authentic the “dirt cup” experience! Once your dirt layer is in place, it’s time to add the gummy worms. Gently press 2 red and blue gummy worms into the “dirt” on top of each cup, so they look like they’re crawling out of the earth. This adds a playful and festive element that kids (and adults!) will absolutely adore. For best results and for the pudding to fully set and for the flavors to meld beautifully, it’s a good idea to chill the assembled dirt cups in the refrigerator for at least 30 minutes before serving. This allows the pudding to firm up even more and makes them wonderfully refreshing. Enjoy your patriotic creation!
Conclusion:
I hope you’ve enjoyed exploring this fun and festive Red, White and Blue Dirt Cup recipe! This dessert is an absolute winner because it’s incredibly easy to assemble, requires no baking, and delivers a delightful combination of creamy, crunchy, and sweet textures. It’s the perfect treat for patriotic holidays like the Fourth of July or Memorial Day, but honestly, it’s a crowd-pleaser for any occasion where a touch of whimsy and deliciousness is desired. Imagin extracte the smiles on everyone’s faces as they dig into these charming cups!
For serving, these Red, White and Blue Dirt Cups are fantastic on their own, but you can also elevate them further. Consider adding a small flag toothpick to each cup for an extra festive touch. They also pair wonderfully with a cold glass of milk or a refreshing lemonade. If you’re looking for variations, feel free to experiment! Swap out the chocolate pudding for vanilla pudding dyed red and blue, or use a different cookie crum extractble like vanilla wafers. You could also add a layer of fresh berries between the cookie crum extractbs and the pudding for a burst of fresh flavor and color. Don’t be afraid to get creative and make these your own! I truly encourage you to give this delightful recipe a try; it’s guaranteed to be a hit.
Frequently Asked Questions about Red, White and Blue Dirt Cups:
Can I make these ahead of time?
Absolutely! These Red, White and Blue Dirt Cups are fantastic to prepare in advance. You can assemble them up to a day ahead of time and store them covered in the refrigerator. The cookie crum extractbs will soften slightly, which some people even prefer! Just add any fresh fruit or extra toppings right before serving.
What other toppings can I use besides gummy worms?
The beauty of dirt cups is their versatility! Beyond gummy worms, consider adding festive sprinkles in red, white, and blue, mini marshmallows, chocolate chips, fresh blueberries, sliced strawberries, or even a dollop of whipped cream on top. You can also get creative with candy rocks or edible glitter for an extra sparkle.
Are these suitable for kids to make?
Yes, this recipe is incredibly kid-friendly and a perfect activity for little hands to help with! The steps are simple: crushing cookies, layering ingredients, and adding toppings. It’s a wonderful way to involve children in the kitchen and let them express their creativity. Just be mindful of any small parts like gummy worms if younger children are involved.
Red, White and Blue Dirt Cups
A festive and fun dessert featuring layers of creamy pudding, crushed cookies, and patriotic gummy worms.
Ingredients
-
2 boxes cheesecake pudding (3.4 ounces each)
-
4 cups milk
-
19 Oreo cookies, crushed
-
1/4 teaspoon red gel food dye
-
1/4 teaspoon blue gel food dye
-
8 red and blue gummy worms
Instructions
-
Step 1
In a large bowl, whisk together the cheesecake pudding mix and milk according to package directions until thickened. -
Step 2
Divide the pudding into three bowls. Leave one bowl plain (white). Tint the second bowl with red gel food coloring. Tint the third bowl with blue gel food coloring. Stir each until evenly colored. -
Step 3
In the bottom of 8 clear cups or jars, place a layer of crushed Oreo cookies. -
Step 4
Layer spoonfuls of the white pudding over the cookie crumbs. Add another layer of crushed cookies. -
Step 5
Add a layer of the red pudding, followed by another layer of crushed cookies. Finally, add a layer of the blue pudding. -
Step 6
Top each cup with a final sprinkle of crushed cookies to resemble dirt. Garnish each cup with a red and blue gummy worm poking out. -
Step 7
Chill the dirt cups in the refrigerator for at least 15 minutes before serving.
Important Information
Nutrition Facts (Per Serving)
It is important to consider this information as approximate and not to use it as definitive health advice.
Allergy Information
Please check ingredients for potential allergens and consult a health professional if in doubt.