Silky Smooth Fruit Curd Recipe- Easy & Delicious
Fruit Curd, oh how I adore this delightful concoction! It’s more than just a dessert; it’s a silky, tangy revelation that can transform humble ingredients into something truly magical. Have you ever experienced that moment when a spoonful of vibrant, sunshine-yellow lemon curd melts on your tongue, or the unexpected burst of berry goodness from a raspberry fruit curd? It’s pure bliss, isn’t it? People are drawn to fruit curd for its incredible versatility and its luxurious texture. It’s that perfect balance of sweet and tart, a luscious creaminess that coats your palate, making it utterly addictive. What truly makes this fruit curd so special is its ability to elevate everything it graces, from a simple slice of toast to the crowning glory of a delicate pastry. Get ready to fall in love all over again with this classic, easy-to-make treat!
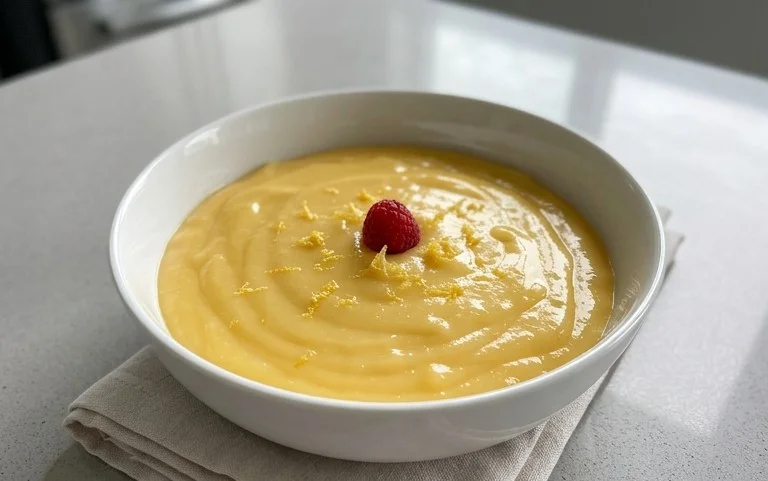
Fruit Curd
There’s something incredibly satisfying about making fruit curd from scratch. It’s a silky, tangy, and utterly delicious spread that transforms everything from toast and scones to tarts and trifles. While you might think it’s complicated, it’s actually quite straightforward, requiring just a few simple ingredients and a little patience. The magic happens when the sweetness of sugar, the richness of butter, the tang of citrus (or other fruit!), and the thickening power of eggs come together. I’m going to guide you through making a classic lemon curd, but the beauty of curd is its versatility – you can adapt this method to so many other fruits!
Ingredients:
Cooking Instructions:
Phase 1: Preparing the Base
The first step is to get our flavor base ready. In a medium heatproof bowl (glass or stainless steel works best), whisk together the whole eggs and egg yolks. You want to ensure they are thoroughly combined, creating a smooth, homogenous mixture. This is important because it will help the curd cook evenly. Next, gradually add the granulated sugar to the eggs, whisking continuously. It might seem like a lot of sugar, but it’s essential for both sweetness and achieving that luscious, thick texture. Whisk until the sugar is mostly incorporated and the mixture is lighter in color and slightly thickened – this is often referred to as ‘ribbon stage’ where if you lift the whisk, the mixture drizzles off in a thick ribbon that holds its shape for a moment before dissolving.
Phase 2: Gentle Cooking
Now comes the part where we apply heat. We’re going to use a double boiler method, which is the key to preventing the eggs from scrambling. Fill a saucepan with about 1-2 inches of water and bring it to a gentle simmer over medium-low heat. Place the bowl containing the egg and sugar mixture over the saucepan, ensuring the bottom of the bowl does not touch the simmering water. This indirect heat is crucial for slow, even cooking. Add the fresh lemon juice to the egg and sugar mixture. If you’re using the lemon zest, this is also the time to add it in. The zest will infuse its aromatic oils into the curd, enhancing the overall lemon flavor.
Phase 3: Thickening the Curd
Now, we whisk! Continuously whisk the mixture over the simmering water. This constant motion is vital. It prevents the eggs from cooking too quickly and forming lumps, and it ensures even heat distribution. You’ll notice the mixture will gradually start to thicken. This process can take anywhere from 10 to 20 minutes, so be patient. The curd is ready when it’s thick enough to coat the back of a spoon and holds a defined line when you run your finger through it. Don’t let it get too thick, as it will continue to thicken as it cools. Avoid letting the mixture boil, as this can cause the eggs to curdle and result in an unpleasant texture.
Phase 4: Enriching with Butter
Once your curd has reached the desired thickness, remove the bowl from the heat. Now it’s time to add the star of richness: the butter. Add the chilled butter cubes, one by one, whisking constantly after each addition until the butter is completely melted and incorporated. The butter is what gives the curd its incredibly smooth, glossy, and luxurious texture. It also adds a wonderful richness that balances the tangin extractess of the lemon. Continue whisking until all the butter has been fully emulsified into the curd.
Phase 5: Straining and Chilling
For the silkiest, smoothest curd possible, it’s a good idea to strain it. Place a fine-mesh sieve over a clean bowl or jar. Pour the warm curd through the sieve to catch any small bits of cooked egg or zest. This step ensures a perfectly uniform and luxurious consistency. Once strained, cover the surface of the curd directly with plastic wrap. This prevents a skin from forming as it cools. Allow the curd to cool at room temperature for about an hour, then refrigerate for at least 2-3 hours, or until completely chilled and set. The curd will continue to thicken as it chills. It’s best stored in an airtight container in the refrigerator and will keep for about a week.
Enjoy your homemade fruit curd! It’s a versatile delight that can elevate so many of your favorite desserts and breakfast treats.
Conclusion:
I hope you’re as excited as I am to whip up a batch of this wonderfully versatile fruit curd! This recipe is a true kitchen gem because it transforms simple ingredients like fruit, eggs, sugar, and butter into a luscious, tangy, and incredibly satisfying spread. The beauty of fruit curd lies in its adaptability; it’s not just a topping, but a star ingredient that elevates so many desserts and breakfast treats. Whether you’re a seasoned baker or just starting out, this recipe is surprisingly straightforward and yields impressive results, bringin extractg a burst of sunshine to your table.
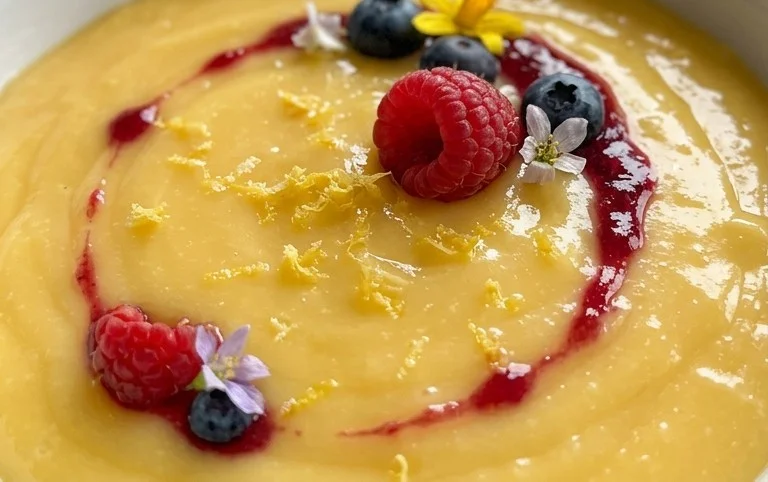
The serving suggestions are practically endless! Imagin extracte this vibrant curd dolloped onto warm scones, swirled into yogurt or ice cream, layered into parfaits, or spread generously on toast. It’s also a divine filling for tarts, cakes, and cupcakes, adding a delightful counterpoint to sweetness. Don’t be afraid to experiment with different fruits too! Lemon and lime are classics, but consider raspberry, blueberry, passionfruit, or even a combination. The tartness of the fruit cuts through the richness of the butter and eggs, creating a perfectly balanced flavor profile.
I truly encourage you to give this fruit curd recipe a try. It’s a rewarding experience that offers a taste of homemade goodness that’s hard to beat. Get creative, have fun in the kitchen, and enjoy the delicious fruits of your labor!
Frequently Asked Questions:
Why is my fruit curd not thickening?
Ensuring your curd thickens properly usually comes down to a few key factors. Make sure you are constantly stirring while it cooks over medium-low heat. Overheating can cause the eggs to scramble, preventing proper thickening. Another important step is to cook it until it coats the back of a spoon. You can also try whisking in a tablespoon of cornstarch mixed with a little water at the begin extractning of the cooking process for extra insurance, though this is not typically needed with a well-executed fruit curd recipe.
How long does homemade fruit curd last?
When stored correctly in an airtight container in the refrigerator, your delicious homemade fruit curd should last for about 7 to 10 days. For longer storage, you can freeze it for up to 3 months. Thaw it gently in the refrigerator before using.
Lemon Curd
A classic, tangy and rich lemon curd perfect for tarts, cakes, or simply enjoying by the spoonful.
Ingredients
-
4 large eggs
-
200g caster sugar
-
100g unsalted butter, cold and cubed
-
200ml fresh lemon juice (from about 4 lemons)
-
1 tsp lemon zest
Instructions
-
Step 1
Whisk the eggs and caster sugar together in a heatproof bowl. -
Step 2
Add the lemon juice and lemon zest to the bowl and whisk until combined. -
Step 3
Place the bowl over a saucepan of simmering water (ensure the bottom of the bowl doesn’t touch the water). Stir continuously with a wooden spoon or whisk until the mixture thickens enough to coat the back of the spoon. This will take about 8-10 minutes. -
Step 4
Remove the bowl from the heat and gradually whisk in the cold, cubed butter, a little at a time, until fully incorporated and the curd is smooth and glossy. -
Step 5
Strain the curd through a fine-mesh sieve into a clean jar or bowl to remove any cooked egg bits and lemon zest. This ensures a silky-smooth texture. -
Step 6
Press a piece of cling film directly onto the surface of the curd to prevent a skin from forming. Allow to cool completely, then chill in the refrigerator for at least 2 hours before serving.
Important Information
Nutrition Facts (Per Serving)
It is important to consider this information as approximate and not to use it as definitive health advice.
Allergy Information
Please check ingredients for potential allergens and consult a health professional if in doubt.